

My family chipped-in and bought me the 30L Brewzilla (3.1.1) for Christmas in 2019. I immediately joined forums, watched videos and read anything that would help me get this thing up and running. I now have a Fool-proof method for pumping-out amazing brews. If you’re just getting started with a Brewzilla, researching, or looking for tips for another all-in-one system I think this article will help. At the time of writing this, I have over 60 brews on the machine, and it’s been nothing but easy going. Typically this method takes around 5 hours.


The reason I’m sharing this is simple: I would have a found a step-by-step method useful when I started. And YouTube videos were almost entirely done by brewers who had previously learned on traditional 3-vessel systems who couldn’t help but transfer some of the idiosyncratic techniques into the new all-in-one systems. The perfect example is sparging: traditionally, sparging is essential and so important that it borders on an art-form. However, in an all-in-one or “brew in a bag” gravity does much more than you’d think. So nailing your targets can be done with little to no sparging as you’ll see below. So I hope my method gives you an objective method for straight-up, fool-proof brewing done right. And you can believe me: I’m usually brewing while managing two toddlers running around, so this method intentionally takes some thinking out of the process.
Below I’ll go through the steps I take for an average brew. Absolutely, you can follow this step by step, but it depends on a few things:
1: What are you brewing? My beers that use upwards of 6kg of grains are pushing the limits of my set-up. There are ways to do it, but it won’t be discussed here. This method I have works great for beers below 6%ABV.
2: Equipment needs. Online forums will have you making all sorts of modifications to your all-in-one. I made one fundamental change, and I’m still not sure it’s needed: A stainless steel sink strainer over the pump inlet. Don’t make changes until you’ve brewed a few times. I also extended the cooling coil with tubing, and added a pond-pump to the inlet side. I also have a large garbage can for pumping cold water. Oh, and I bought the jacket to speed the heating up.
3. This is the brewing method. The rest of it (temperature control, yeast management, transferring…etc) will be discussed another time. Read this whole thing through, and decide what other information you’ll need before starting.

The Method:
Start-up and Mash:
- Start with clean and sanitized equipment. This article will end with cleaning, so there will be more on that later. In the meantime, do what you need to make your equipment spotless.

- Start your brewing software, or get the recipe and an alarm clock handy. I use Brewer’s Friend, but there are several available.
- Ensure everything is in place: The sink screen, and false bottom are in place. Tap closed. Pump and elements off.
- Fill with brewing water to 25L. It’s likely your recipe will call for somewhere around 28 L. That means 3L will be added later. Starting with 25L is a great way to saturate your grain and allow it to stay nice and loose for stirring and allowing for flow.

- Turn on the robobrew and set to 50C. Put the jacket on to speed up the heating and conserve electricity.
- Place grain pipe with both bottom screens, pipe extension and overflow cap into the Robobrew.

- Once water hits 50C, pour in the grain. This isn’t rocket-science (despite what many say). Pour it in evenly so it falls and settles gently. Don’t take an hour doing this and don’t just tip the bucket/bag. Just a steady pour over a minute or so. Place the lid and put the pump tube in the opening to keep the heat in.

- Touch nothing. Unless your grain has been sifted, there are husks and powder and everything in between. Most of that will take the first couple of minutes submerged to absorb water and swell. By touching nothing, you allow some particles that would get pushed through the false bottom to swell to a size that fixes them above. Instead, set the timer for 5 minutes.

- After 5 minutes, set temperature to 67C. Set timer for 5 minutes more.
- Once the temperature reaches 67C (may take longer than 5) set your mash timer for 50 minutes, but keep an eye on the clock.
- After 5 more minutes, give the entire thing a gentle stir. Try to pull grains up off the false bottom to readjust any compacting that occurred. I essentially dip the paddle, and push grains away and up from the bottom. Doing this gently allows grains to settle gently back into the space I created. I do this a few times and in a different spot each time.
- After another 5 minutes, turn on the pump, but not fully open. Use the ball valve on the pump outlet to adjust it so it’s just trickling out. A differential in the height of water between the grain pipe and the main vessel forces the wort through the grain-pipe bottom to be recirculated. That is what you want. What you don’t want is such a differential that the grains become compact and restrict the flow. The result of that would be an overflow. So, be careful to only set this to a trickle.

- For the rest of the mash, try and give it a stir every 10-15 minutes, and slightly adjust the ball valve to increase the flow. I adjust the valve and look to ensure the fluid level isn’t increasing. If it is, dial it back.
- After 50 minutes, set the temperature to 99C, but keep an eye on it, and be ready to pull the grains before then.
- At 75-77C, pull the grain pipe, turn it and set on the holding bars above the main vessel. Remove the handle and the overflow cap and place the top screen. Then replace the overflow cap.
- Pro-tip: Above 77C grains start to cook and will create off flavours. You don’t have to wait until 77C to pull, you can pull it earlier. However, at this temperature sticky stuff like gluten is broken down so the mash becomes thinner and draining is enhanced.
- Slowly pour in the remaining water. Again, this should be something like 3L. I use hot tap water. There are entire books and forums just on sparging. But this isn’t 1825, and you’re using a grain pipe. So pull it, let gravity do the work and pour a little water through just for tradition’s sake and to get that small amount of sugar that’s still in the grains. (Or skip this step and buy $0.14 more grain).
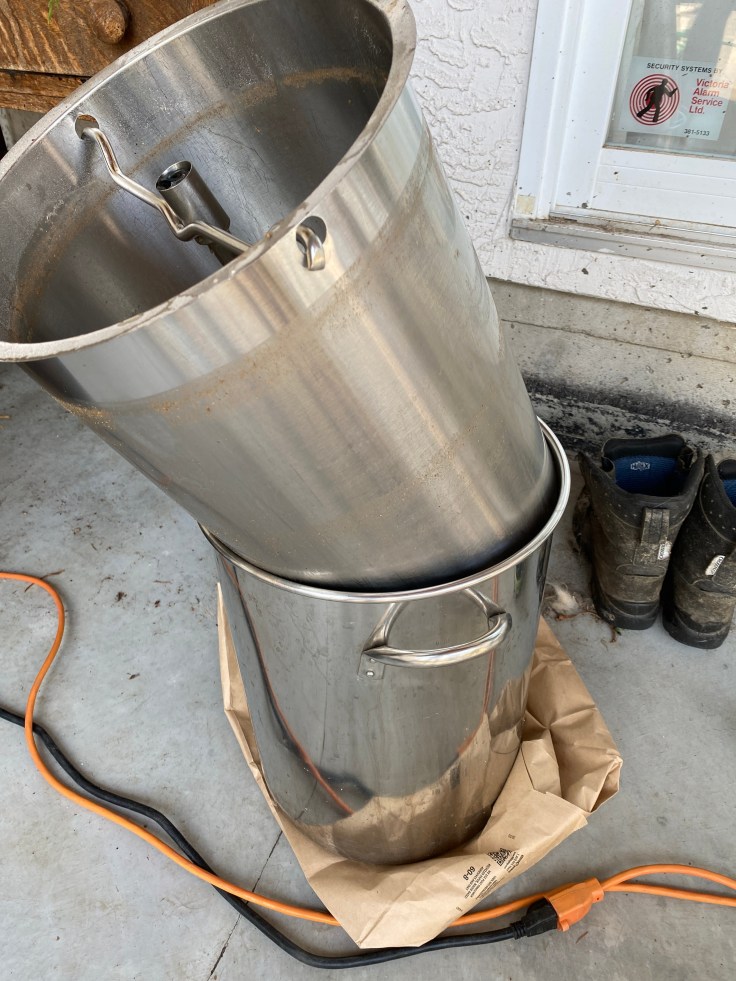
- Pro-tip: Pull the grains slowly. When you haul it out quick the entire weight of the saturated grains and wort compacts the bed. By pulling it slowly you increase the flow through the bottom while some of the grain is still floating/submerged. As wort drains from the grains above, their weight is decreased. This slow pull takes some patience, but the pay off is in a quicker flow once entirely removed. Careful: It can be heavy.
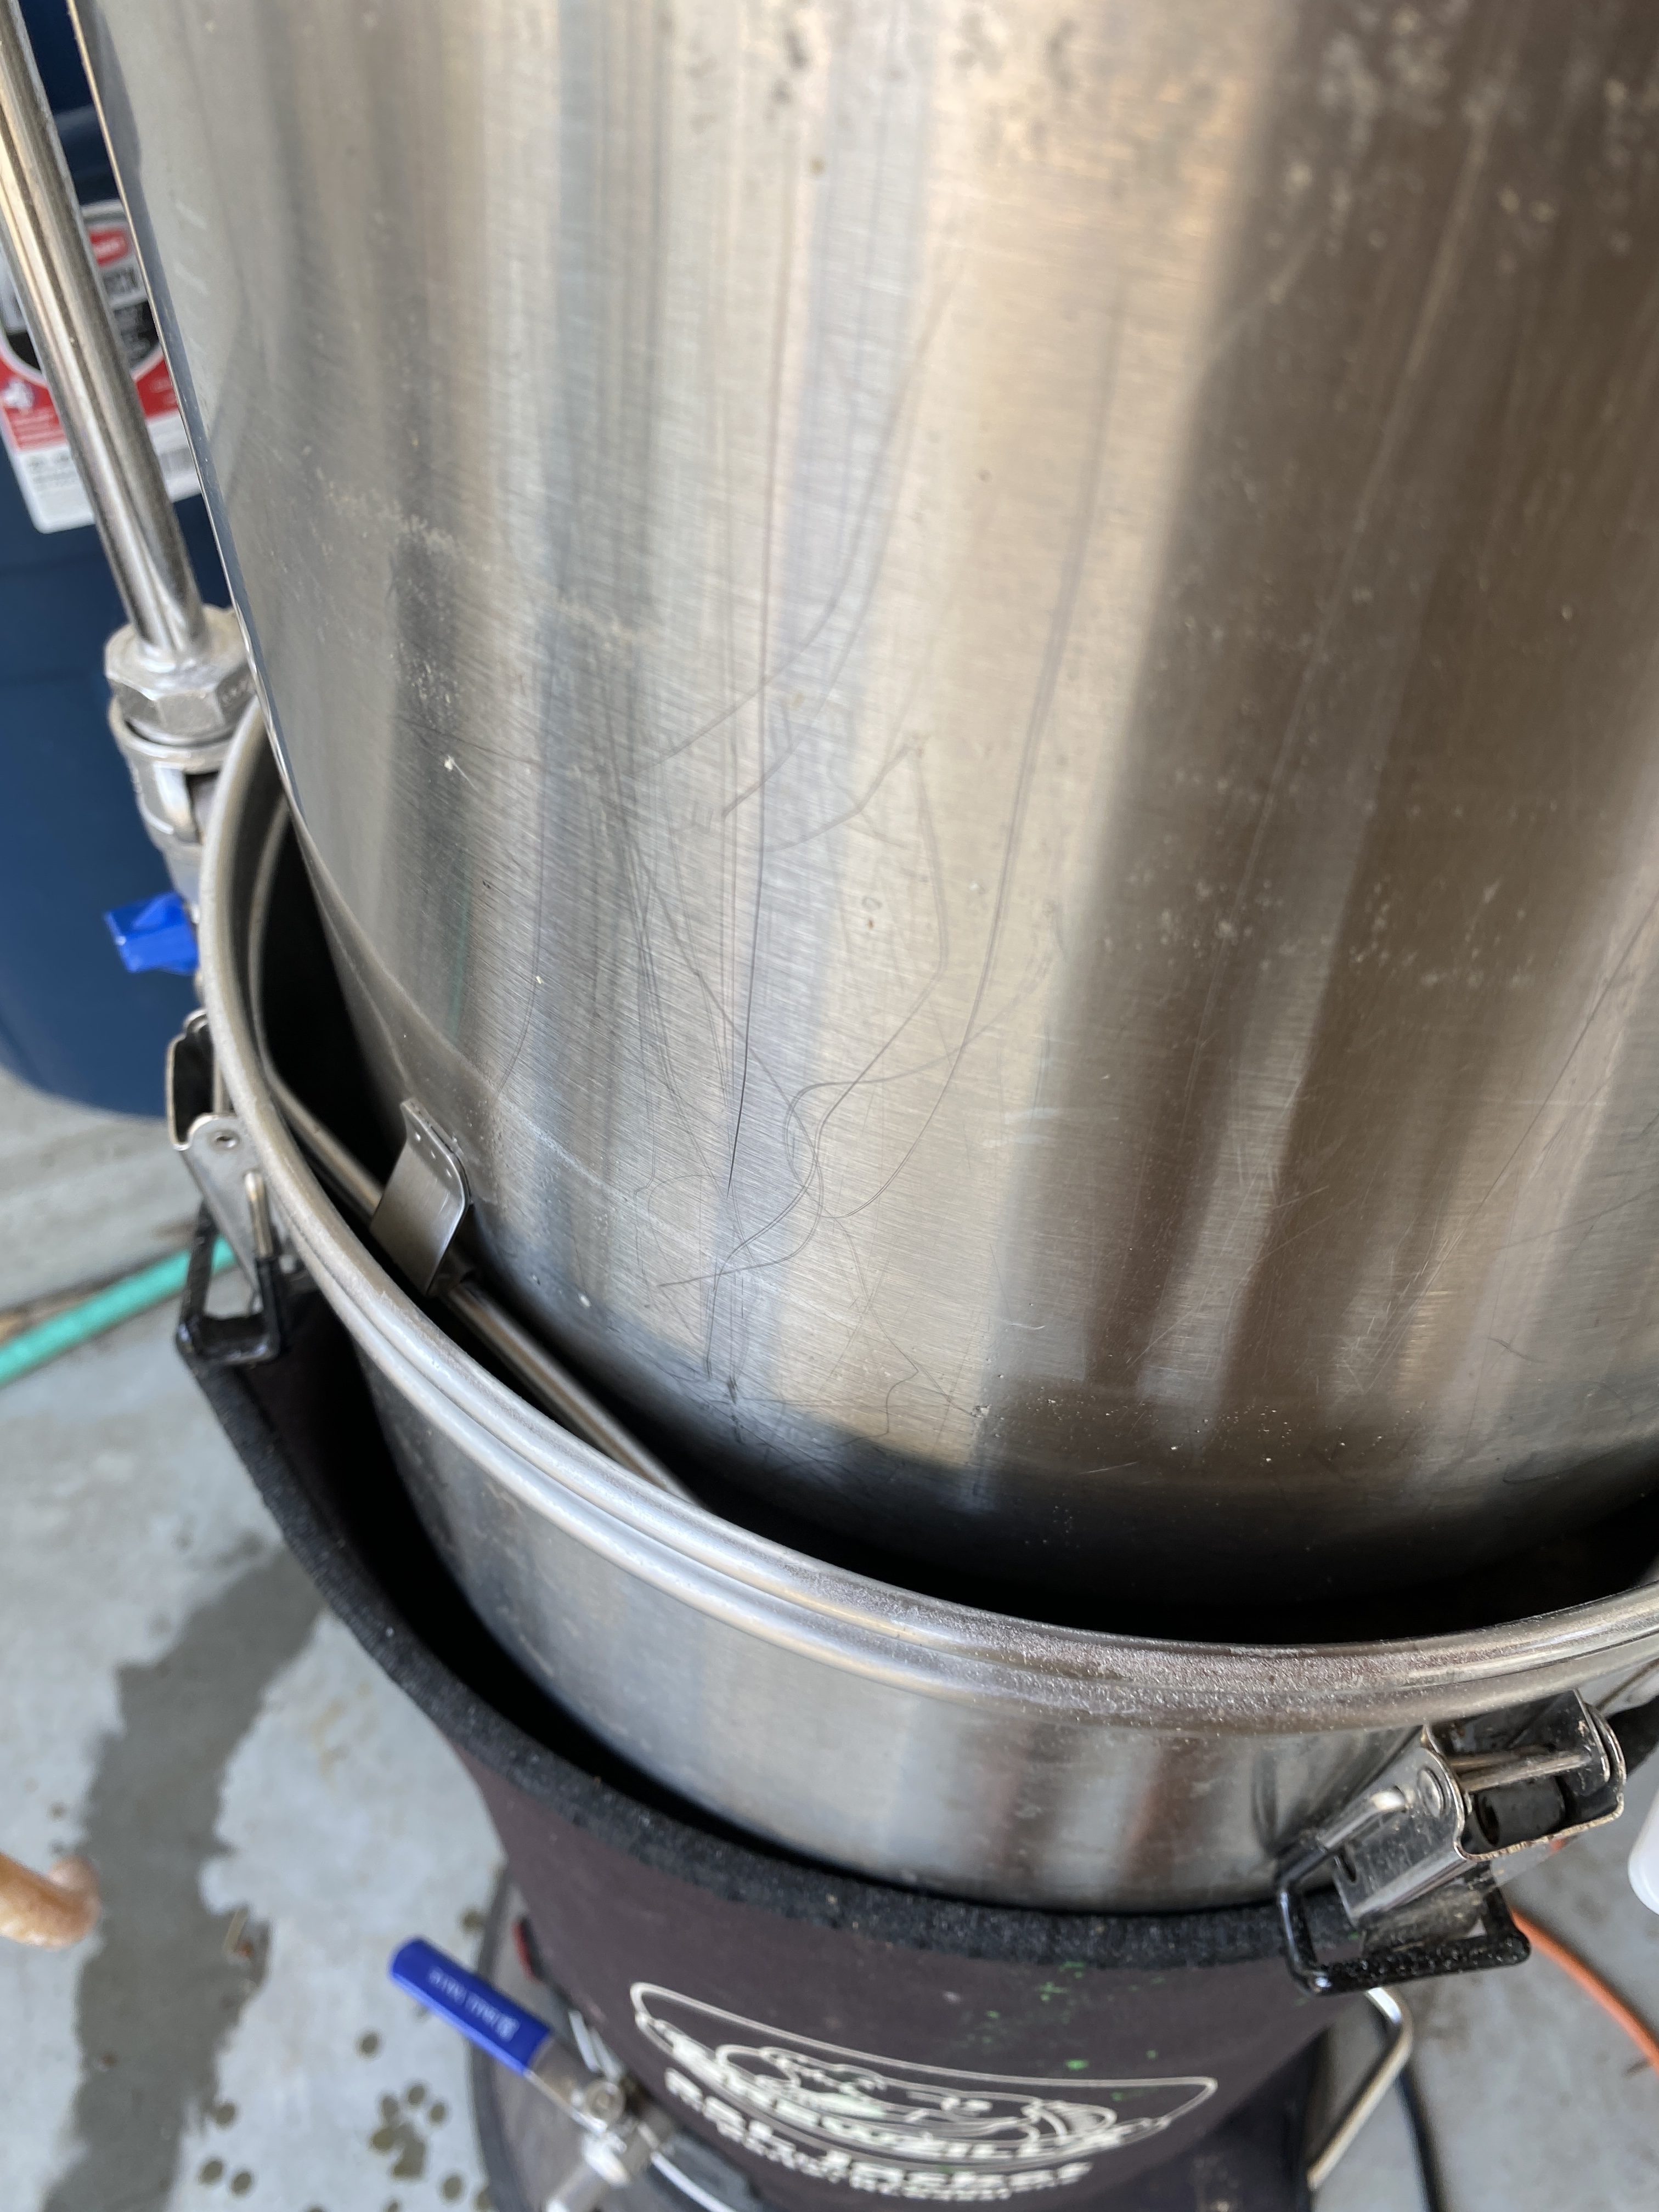

- Wait until the grain pipe draining is a drip, then remove to a secondary, sanitary bucket. Place the lid on the robobrew to speed up the boil and put the pump tube in the opening to further keep-in the heat. Set at 99C so you can walk away and avoid boil-over. (set it lower if you haven’t calibrated the thermometer). Add anything that continued to drain from the grain pipe before the boil.
- Take a pre-boil measurement of fluid volume and gravity. (Cool it down first)
The Boil – Set to 105C (It’ll never reach it)
- Watch it like a hawk! Keep the lid on and the tube in place to get the boil as vigorous as possible. Give yourself about 10 minutes of this boil before you set your official timer. Make sure to stir in the hot-break. Don’t remove it.
- Yes, if you collect the hot break and do a chemical analysis, some of the hot break is stuff you don’t want, but guess what….the boil and fermentation take care of it. It’s all part of a good beer, so leave it there.

- After 10 minutes start your boil timer. If you want to walk away, remove the pump tube and place the lid ajar to settle the boil. After the first hop addition, I crack the lid and walk away…usually to pour myself a beer.
- At some point in the boil, gently operate the pump. This sterilizes the inside of the pump/pipe/tube.
- Follow your recipe for adding ingredients.
- At 10 minutes to go, drop the cooling coil to sanitize it.
- At flame-out, turn off the elements, remove the jacket and relax.
- Fill up the garbage can with water, or otherwise prepare for cooling. Begin cooling.
- Take another sample once cool: volume, gravity.
Transfer/Oxygenation
- Ensure your fermentation vessels are beyond clean and sanitized! They must be perfect.
- Circulate the wort through the pump and back into the vessel to help cool it. Keep the pump outlet submerged for now.
- Once down to 40C, pull the pump outlet out enough to have it above the wort level. This will begin the oxygenation process. I usually have it resting on the cooling coil so it can splash-in.
- Once at target temperature use the pump to pour the wort into a vessel. I use a fermentation bucket and splash it vigorously.

- Pour this back into the Robobrew. (Am I crazy!? No, just aerating).
- Fluids can absorb more oxygen when they are cooler. Wait until the wort is cool before performing aeration techniques.
- Now, pump it out again. This time into the final fermentation vessel. Also, splash it around as much as possible. Take all the trub. Seriously! Everything you can. It’s proven to clear your beer with no affect on taste. It has nutrients for yeast, so don’t rob them of it.

- Pick up the robobrew, open the tap and pour anything left into the fermentor.
- Carefully take the wort where it needs to go.
- Add the yeast….yada yada (You know the rest.)
Clean-up
Yes. This is important. A flawless brew starts with being prepared, so it’s always best to do it now. Also, when things dry they are harder to clean. Save yourself some time and get it done now.
- Remove the robobrew to a place you can dump it out. Do exactly that.
- Clean the false bottom and the sink screen and set aside. I blast it with the hose and give it a wipe with a cloth.
- Use a cloth to scrub down the sides of the main vessel. The element at the bottom is toughest, but because it’s stainless, it will rub clean with just a cloth.
- There will always be some stuff cooked onto the bottom. Just like a pot in your kitchen, if you cook with it again anything stuck on will be even more difficult to remove. So take the time to get this spotless. I use no cleaner at this point. I scrub it, rinse, scrub it again. It always comes clean. Do not skip this.
- Rinse and spray water backwards through the tap and pump to clear them.


- Dump the grain pipe and scrub it all clean with the same cloth. (I dump this in the compost, but it attracts rats, so when I can I give it to people who have chickens – it’s great feed).
- Clean the lid, the paddle and the cooling coil. Again, rub it with the cloth and rinse with hose water.
- Put the robobrew somewhere you are comfortable forgetting about it, but where you can also drain it if necessary. (Mine’s either outside under a covered deck or in the garage.)
- Replace the strainer and false bottom, then the grain pipe, coil and paddle. Fill to the brim with water.
- Add a cleaner. They probably all work. Use your preferred one.
- Leave it be until your next brew. The cleaner helps break down anything you missed and leaving it in there is no problem. Now, next brew simply requires you to pump and drain out the cleaning solution and rinse the whole thing. Boom! Perfect every time.
- I do the same with kegs and carboys: Clean out all gross material while it’s still wet. Fill with water, then add cleaning solution and forget it until I need it next. Then I pour some out, vigorously shake the rest, empty, give a quick scrub then rinse until there is no evidence of cleaner residue.

That’s it! That’s the method. Easy and works every time. But there’s more to learn:
Mistakes I’ve made: (I mention these so you can learn from my mistakes).
- Setting up the auto to heat over night and forgetting to turn on the elements. So double check.
- Dropped the first vessel of wort before refilling the main vessel. (Yep, 5 hours wasted). So, careful lifting.
- Forgot to place the false bottom. (everything actually turned out ok but it was scary).
- Removed the pump tube that dribbled hot liquid on my bare foot. It always dribbles a bit, so be careful.
- Sprayed hose-water into the wort to wash down the bubbles while transferring. (Yep, major brain fart, but it all worked out.)
- Drank too much while brewing. (Happens to us all).
Hopefully this gives you enough to get started or give you peace-of-mind over some of the methods that have people divided. There are lots of things you can do to fuss over efficiencies, but I’ve always thought: who cares? I’m not brewing hundreds of hectolitres where a drop in efficiency is going to set me back thousands of dollars. All that matters is consistency in the method. That way, a change in efficiency can be attributed to the grains and you can go from there. Vigorous stirring, 15 minute slow pour of grains, worrying about enzyme density and sparging is all nit-picking to a ridiculous level for a small-batch brew. However, with that said, that’s what some people enjoy about it, and after some brews under your belt you’re going to want to perfect the art. So, until you venture into that additional reading, I hope my method helps you out.